How to Remove a Screen Protector at Home Easily
There could be many reasons you need to remove your screen protector. Maybe it’s damaged or cracked or perhaps you want to replace it with a better one. Of course, you could just rip up the protector that’s on your phone. But this could be dangerous, especially with tempered glass screen protectors. If not removed carefully, the screen protector could crack and splinter and shards of glass could harm you and your device.
To remove your screen protector at home safely, just follow these simple steps.
What you’ll need to remove your screen protector
First, gather the tools you’ll need to safely remove your screen protector:
- hairdryer
- credit card (or any tool that has a hard, smooth surface, such as a guitar pick or business card)
- duct tape
- alcohol wipe and microfiber cloth
How to remove your screen protector
You should gather your tools at a clean work surface and then follow these steps.
Soften the adhesive
You might be wondering why you need a hairdryer to remove a screen protector. This will be used to soften the adhesive that’s bonding the protector to the screen, so it’s easier to remove. Set your hairdryer to its lowest setting and heat the screen protector. You should make sure to keep moving the hairdryer, so it’s never concentrated on one spot, to avoid overheating. You will only need to heat the phone for around 10-15 seconds to soften the glue.
Lift the corners
Once the adhesive has been softened, you can then start working the protector up. You should begin by gently prying up each corner with the credit card, or whichever plastic tool you’re using. It can be best to use something that you don’t mind getting glue on, or something that you can easily clean.
If you find you can’t get under the corners with your tool, you can use duct tape. Roll it around your fingers sticky side out, press it onto each corner and lift up. This should create enough space for you to get the tool underneath.
Remove the protector with the card
Once each corner has been raised, you can work at lifting the rest of the protector. Using your tool, slide it under the protector and push it side to side along the screen. You should take care, and ensure you’re using an appropriate tool, to make sure you don’t scratch the screen as you do this.
Clean your phone screen
Once the protector has been fully removed, you can discard it. Your screen will likely have some sticky residue and may have dirt and grime that has collected around the edge of the protector. You can clean this with the alcohol wipe and microfiber cloth. This is an essential step if you’re replacing the protector with a new one, as this will remove any dust and dirt that could otherwise cause air bubbles to form underneath. If this does happen, we have covered how to get air bubbles out of screen protector.
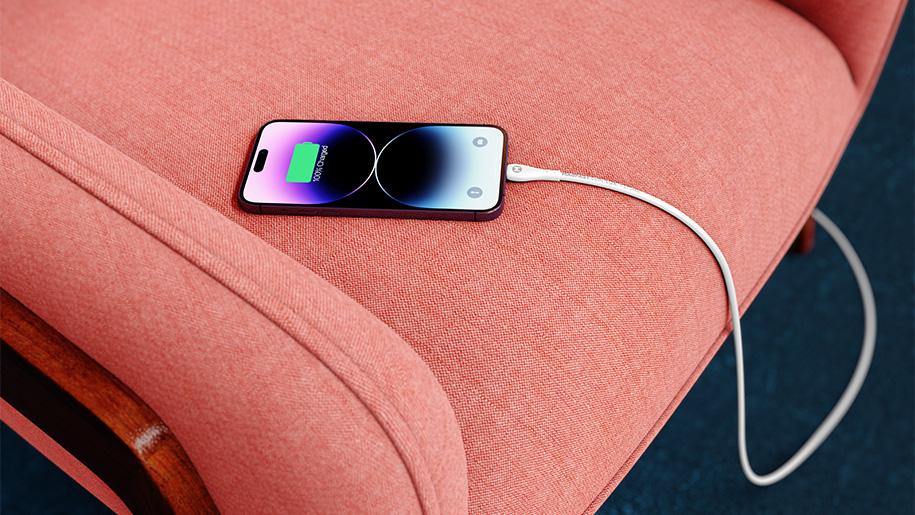
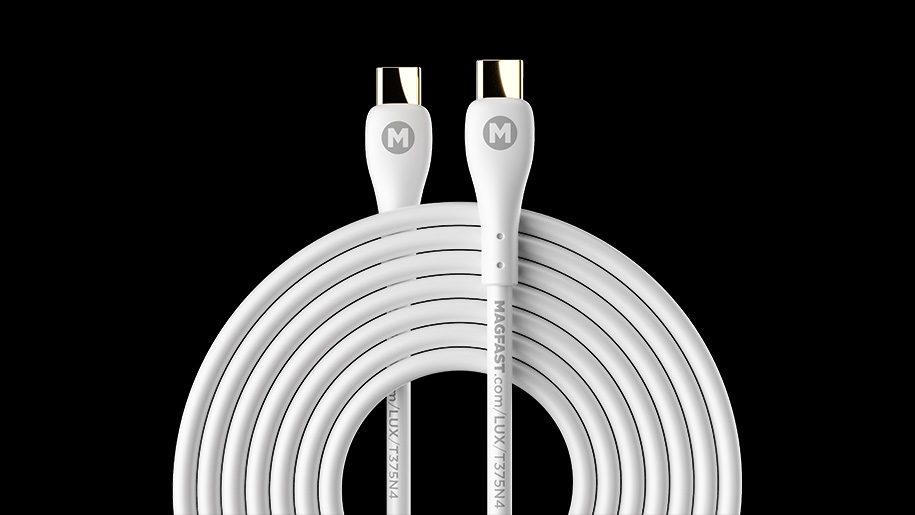
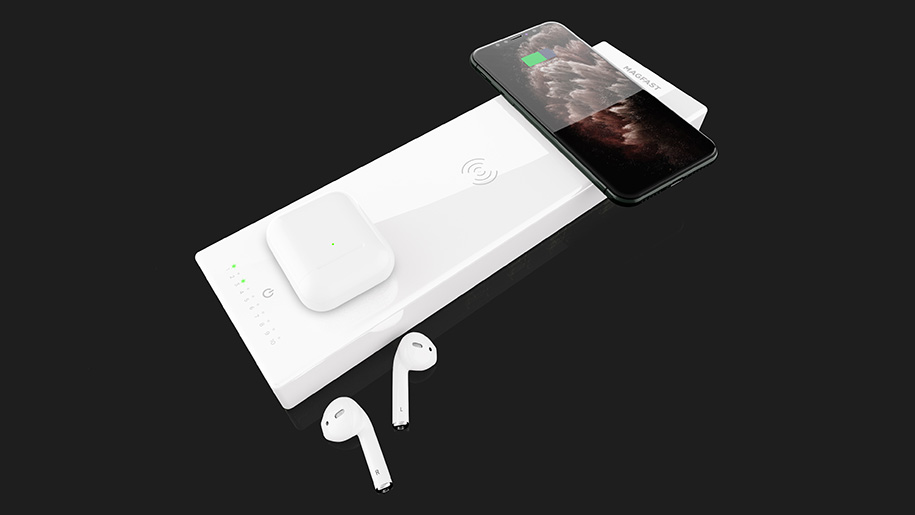
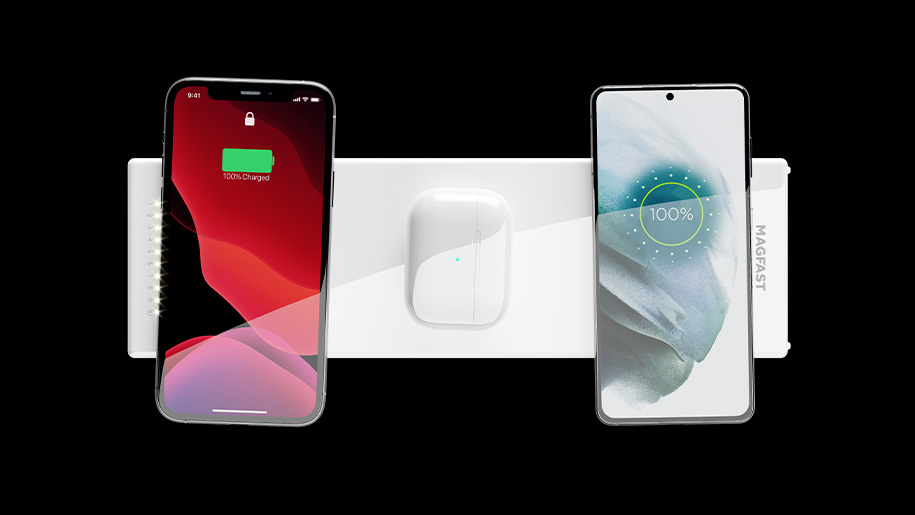
Keep your phone safe with MAGFAST
At MAGFAST, we know how important your phone is to you. That’s why our chargers have been built with the highest-quality components and to the highest build standard to ensure they’re right for your devices. Our chargers provide a fast and efficient charge for your tech, without ever overheating or damaging your precious gadgets. If you’re looking for a charging station hub for the home look no further than MAGFAST Wall.
Find out more about our family of exceptional chargers by attending our demo, and you’ll also be entered into our monthly prize draw to win $1,000 of premium tech products!